Showing posts with label no knead bread. Show all posts

Sunday, September 26, 2010

French Walnut Bread

This is a super easy, sinfully simple bread to make. It comes straight from Kneadlessly Simple. In fact, I'm not sure I did make it. The bread makes itself! All I did was mix flour, sugar, salt, yeast, water and walnuts. A day and half later, I had bread. Amazing.

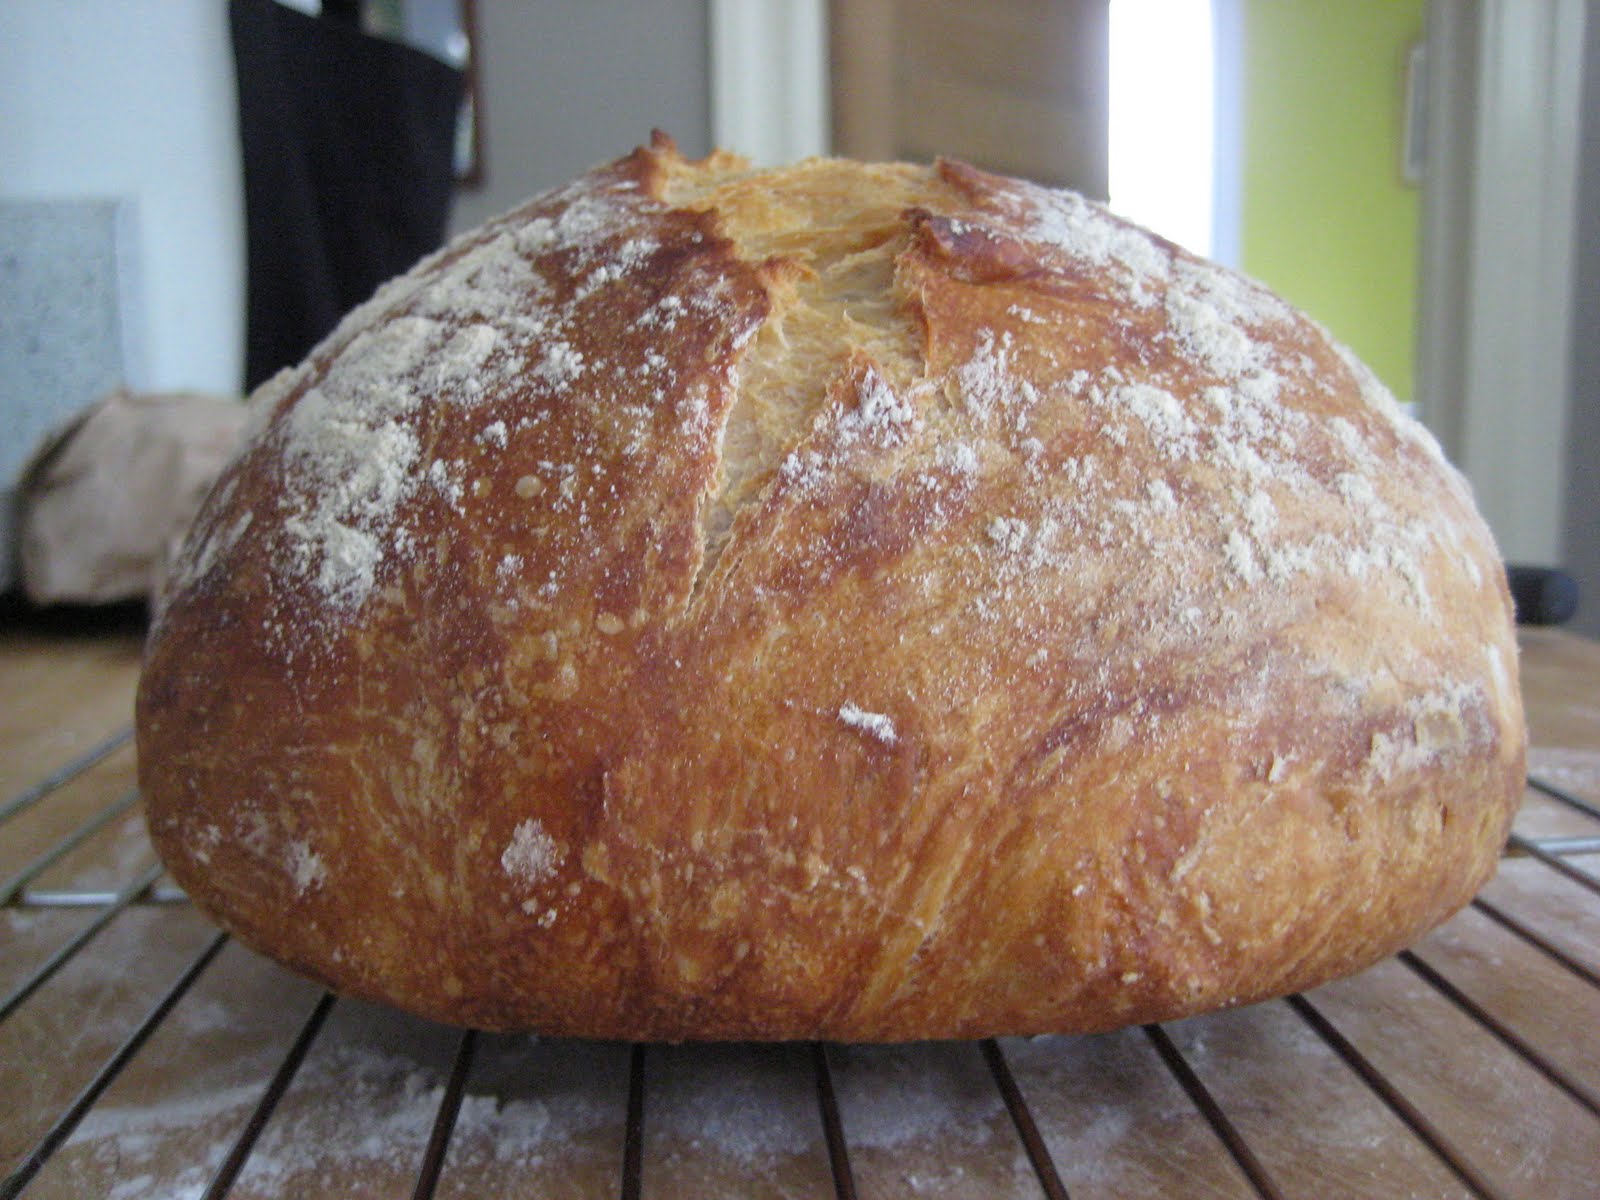
This bread is earthy, nutty-tasting, and is great with butter, goat cheese, any cheese really. Half the flower is whole wheat. The crust is crisp but not as crisp as the crust in the Peasant Style Pot bread or Almost No Knead bread. And it did not get the beautiful round dome shape that other breads get. I performed all the requisite steps. In fact, it rose but not as much, and it came out a little flat. Not deflated but flat. I suspect the crispiness and dome eluded me because this recipe did not require the Dutch oven (or other pot) to be preheated in the oven.

Anyone else make this bread with the same result?

This bread makes great toast and goes well with curried carrot soup. Perfect for cooler fall weather and sharing with friends. Break bread with your friends. They'll love you even more than they already do.

This is my second Kneadlessly Simple recipe and I have to say that I still prefer the almost no knead bread. I think it has better flavor and crust, and if you can believe it, is easier to make and takes less time.

Yield: 1 large loaf, 12 to 14 slices

Ingredients
- 2 c whole wheat flour, plus extra as needed
- 2 c unbleached all-purpose white flour or white bread flour
- 1 tsp granulated sugar
- 2 tsp table salt
- 3/4 tsp instant yeast, fast-rising, or bread machine yeast
- 2 c ice water, plus more if needed
- Walnut oil or flavorless vegetable oil for coating dough top and baking pot
- 1 1/2 c fresh, fine-quality walnut halves

First Rise: In a large bowl, thoroughly stir together the whole wheat and white flour, sugar, salt, and yeast. Vigorously stir in the water, scraping down the bowl and mixing until the dough is well blended and smooth. If the mixture is too dry to incorporate all the flour, a bit at a time, stir in just enough more water to blend the ingredients; don't over-moisten, as the dough should be very stiff (it's stiff if you find it difficult to stir). Brush or spray the top with oil. Tightly cover the bowl with plastic wrap. If desired, for best flavor or for convenience, you can refrigerate the dough for 3 to 10 hours. Then let rise at cool room temperature for 12 to 18 hours.

Meanwhile, reserve 4 perfect walnut halves for garnish. Spread the remainder on a baking sheet and lightly toast, stirring several times, in a preheated oven for 325 degrees F for 10 to 15 minutes, or until fragrant and just lightly browned. Let cool. Chop finely (in a food processor, if desired).

Second Rise: Vigorously stir the cooled walnuts into the dough. Note: This was extremely challenging; the nuts were not spread uniformly throughout the dough. If it is not stiff, stir in enough more whole wheat flour to make it hard to stir. Using an oiled rubber spatula, lift and fold the dough in towards the center, working all the way around the bowl. Invert it into a well-oiled, then flour-dusted, 3-quart (or larger) heavy metal pot (or use a flat-bottomed round casserole with a lid). Brush or spray the top with oil, then smooth out the surace with an oiled rubber spatula or fingertips. Cut 1/2-inch-deep slashes to from an X in the center top; well-oiled kitchen shears work best. Put the 4 untoasted walnut halves in the angles of the X for garnish; press down very firmly to imbed them. Cover the pot with its lid.

Let Rise Using Any of These Methods: For a 1 1/2- to 2 1/2-hour regular rise, let stand at warm room temperature; for a 1- to 2-hour accelerated rise, let stand in a turned-off microwave along with 1 cup of boiling-hot water; or for an extended rise, refrigerate 4 to 24 hours, then set out at room temperature. Continue until the dough doubles from its deflated size.

Baking Preliminaries: 15 minutes before baking time, place a rack in the lower third of the oven; preheat to 400 degrees F. Lightly dust the dough top with whole wheat flour.

Baking: Bake on the lower rack, covered, for 45 minutes. Remove the lid and continue baking for 20 to 30 minutes, or until the top is well-browned and a skewer inserted in the thickest part comes out with just a few particles clinging to the bottom. Then bake for 5 to 10 minutes more to ensure the center is done (if the particles are moist then definitely bake longer). Cool in the pan on a wire rack for 10 minutes. Remove the loaf to the rack, running a knife around the edges to loosen if necessary (I used parchment instead of the oil and flour method -- this has typically not worked for me).

Serving and Storing: The loaf tastes and slices best at room temperature. Cool completely before storing airtight in plastic or foil. The bread will keep at room temperature for up to 3 days, and may be frozen, airtight, for up to 2 months.

Monday, September 13, 2010

Peasant Style Pot Bread

I checked out Kneadlessly Simple from the library. I had to wait several weeks because it is an extremely popular book and there were others waiting to get their hands on it too. I HIGHLY recommend the book. You'll want to make every recipe; these breads are enticing and you can practically smell the bread out of the book. I wish this book had a scratch 'n sniff feature. I've limited myself to making one loaf every week to ten days or so because otherwise I run around like a mad woman.

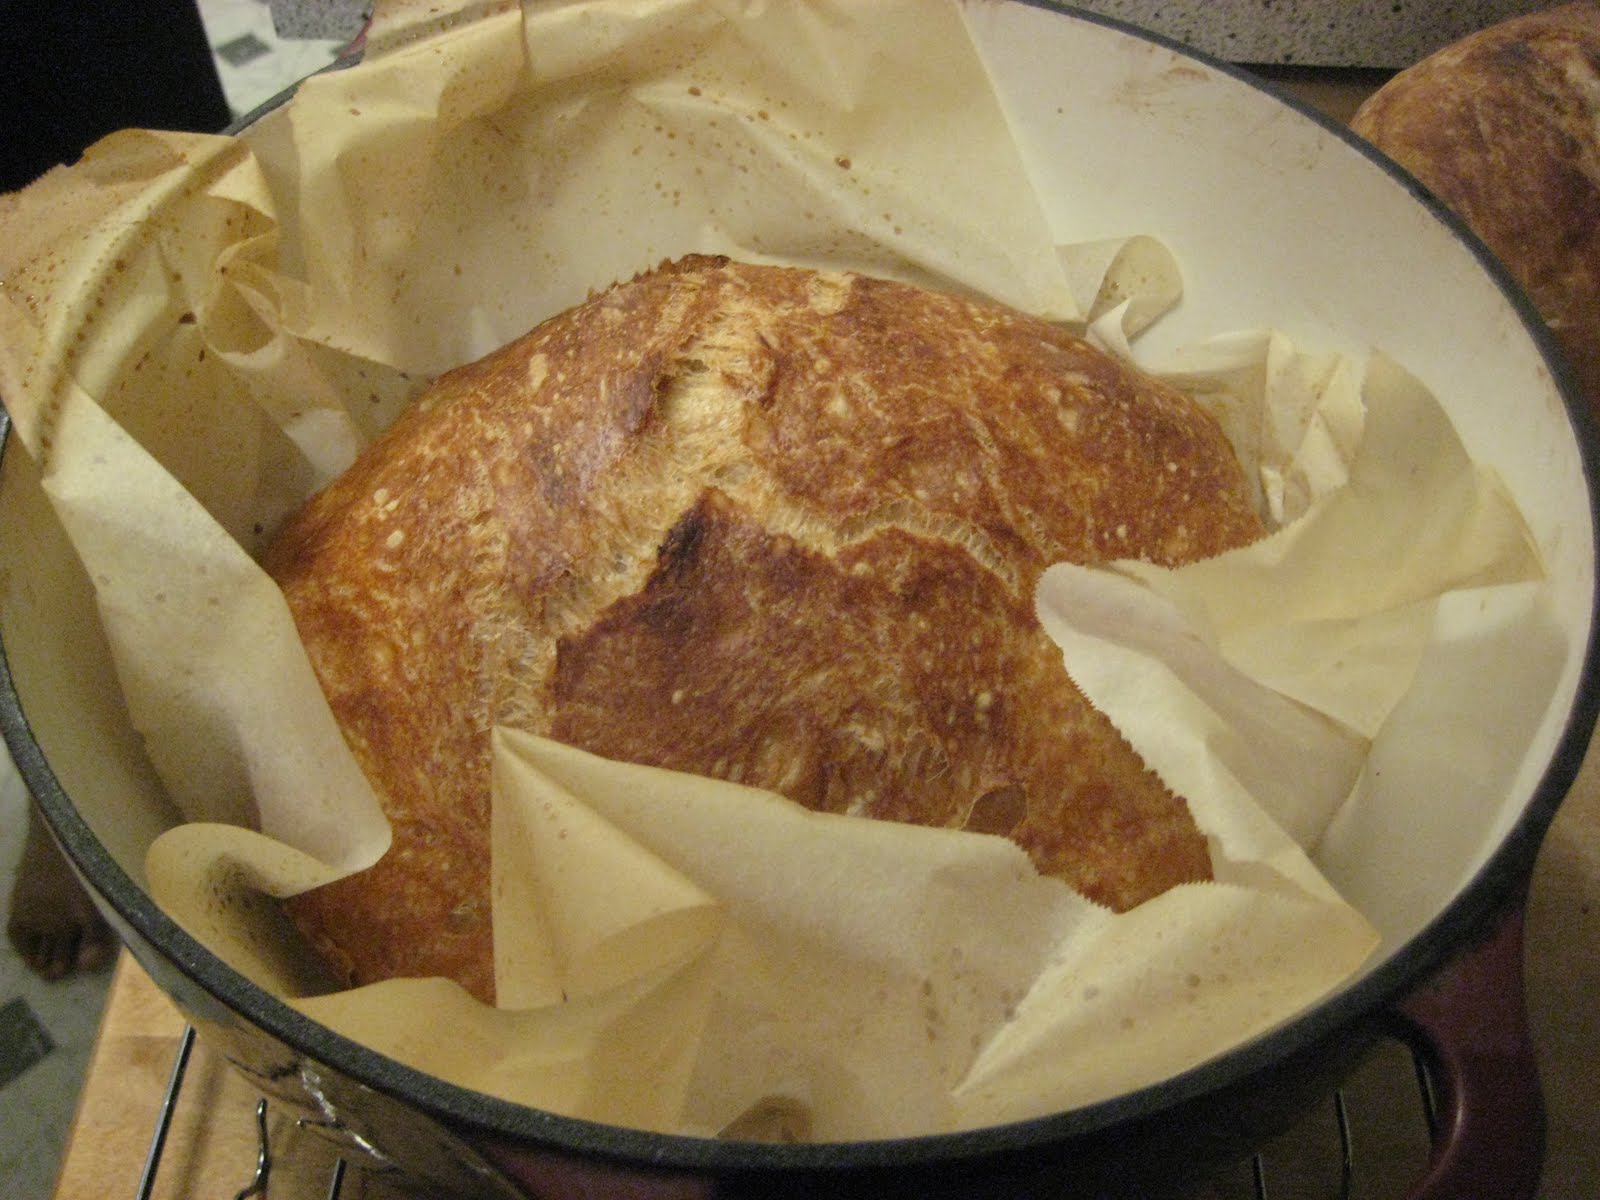
This recipe has a crispier crust than the Almost No Knead bread but I think the flavor of the Almost No Knead is better. Both have moist crumb and are definitely better than what you could buy at your local grocery store.

It's so easy I want to call these ridiculously simple recipes. You probably have all the ingredients in your kitchen. The beauty of these recipes is that you make them work to your schedule and not the other way around. There's time in the fridge which is any where from 3-10 hours. Then the rise at room temperature, any where from 12-18 hours or 18-24 hours; and then the second rise which can be done at either temp for 1.5 to 2.5 hours or the accelerated rise at 1-2 hours, or the extended rise of 4 hours in the fridge. It really works around your schedule, really it does.

My only modification would be to reduce the salt slightly. Some tasters found it slightly salty especially vs. the Almost No Knead Bread.

If you click on the title of this post the recipe is available on A Chow Life, a wonderful blog. She wrote the whole recipe out -- it's rather long -- so I would prefer not to rewrite it.

Tuesday, August 17, 2010

Almost No Knead Bread

Raise your hand if you love bread. My hand is raised. Raise your hand if you're tired of paying $$ for crusty bread. My hand is raised. I buy crusty bread on a weekly basis, probably about $4 for 12 to 16 ounces. The breads I choose are on the less expensive side too. I could easily spend $5 or $6 loaf.

Why not make my own bread, you may think? Who doesn't love the smell of freshly made bread. It's wonderful. What stops me? Not kneading. I find kneading therapeutic. I'm, however, NOT a fan of the first and second rise. Who has time? I guess there is time, sometimes, BUT then I feel stuck at home or if I'm out and about then I feel like I have to rush home to complete the requisite steps. I don't like feeling controlled by bread or bread making.

Last year, may be two years ago, I saw Mark Bittman's No Knead Bread in the New York Times A recipe in which I could be away for hours at a time and still make bread. A win-win. I worked backwards from when I wanted the bread to pop out of the oven and put together the dough. 20 hours later, I had a thin burnt loaf. The parts that weren't burnt were tasty but I was not impressed enough to try again until today.

As you may recall, I spent a ridiculous sum on a Cook's Illustrated magazine a few months ago. To make it pay off, I've slowly but surely going through the vegetarian recipes, one of which is this Almost No Knead Bread, which improves up on the Bittman recipe. The recipe was without problems but I was not. After picking up all the ingredients and making the dough, I realized within 30 minutes that I had made a critical error, I used active dry and NOT instant yeast. A quick on line search suggested my bread would not succeed. Was I irritated with myself? You better believe it. 2 hours later after running around to find instant yeast (stores should sell it larger quantities than those dinky packets!) I had my precious dough.

18 hours later at 8 AM I kneaded it. 2 hours later I popped my baby into the oven. 50 minutes later it came out, round gorgeous perfection if I do say so myself. Now I'm waiting for it to cool down so that I can eat it, another 2 hours. Will report back later on flavor.

Are there are almost no knead recipes that incorporate other types of flour and/or ingredients like nuts, olives etc.

Ingredients
-3 cups unbleached all-purpose flour, plus extra for work surface
-1/4 tsp INSTANT yeast
-1 1/2 tsp table salt
-3/4 c plus 2 T water, at room temp.
-1/4 c plus 2 T mild-flavored lager (Budweiser was recommended; stronger tasting beers will make the bread taste like beer)
-1 T white vinegar

1. Whisk flour, yeast and salt in large bowl. Add water, beer and vinegar. Using rubber spatula, fold mixture, scraping up dry flour from bottom of bowl until shaggy ball forms. Cover bowl with plastic wrap and let sit at room temp for 8 to 18 hours (I waited 18).

2. Lay 18 by 12-inch sheet of parchment inside 10-inch skillet and spray with nonstick cooking spray. Transfer dough to lightly floured work surface and knead 10 to 15 times. Shape dough into ball by pulling edges into middle. Transfer dough, seam side down, to parchment-lined skillet and spray surface of dough with nonstick cooking spray. cover loosely with plastic wrap and let rise at room temp until dough has doubled in size and does not readily spring back when poked with finger, about 2 hours.

3. About 30 minutes before baking, adjust oven rack to lowest position, place 6 to 8 quart heavy bottomed Dutch oven (with lid) on rack, and heat oven to 500 degrees. Lightly flour top of dough, and using sharp knife, make one 6-inch long, 1/2-inch deep slit a long top of dough. Carefully remove pot from oven and remove lid. Pick up dough by lifting parchment overhang and lower into pot. (Let excess parchment hang over pot edge.) Cover pot and place in oven. Reduce oven temp to 425 degrees and bake covered for 30 minutes. Remove lid and continue to bake until loaf is deep brown and instant-read thermometer inserted into center registers 210 degrees (I don't have this, so I didn't do this), 20 to 30 minutes longer. Carefully remove bread from pot; transfer to wire rack and cool to room temperature, about 2 hours.

4. To store, wrap bread tightly in plastic wrap, then in foil; freeze for up to 1 month.

5. To serve, remove foil and plastic wrap, rewrap with foil, and defrost at room temp for 2 hours. Adjust oven rack to middle position and heat oven to 375 degrees. Back foil-wrapped bread on baking sheet until heated through, about 15 minutes. Serve.