Sunday, August 29, 2010

Cinnamon Raisin Bread

No doubt about it, I'm on a bread kick. I've been itching to bake bread. The unusual 90 degree weather, which I thoroughly enjoyed as did my tomatoes and squash, precluded me from turning on the oven. It was hot enough without the oven on, and I was not going to contribute more heat on a Spare the Air day. On the first cool day, I was ready to dive in again.

While I wait for Kneadlessy Simple to become available at the library, I have to make due with recipes from my existing cookbooks. Sigh. What to make?! So many choices not enough running to justify carb over load. I need to be judicious. I eat a lot of crusty cranberry nut bread. It's versatile, being good as both as a sweet and savory. I love it with both butter or peanut butter and sardines, not together, of course! Yummy.

I settled on Cinnamon Raisin which is not exactly the crusty cranberry nut bread but a great bread too. I found this recipe on Life's a batch and then you bake which she found on Allrecipes.com and modified. Here's my recipe so that you don't have to find two sources, like I did!

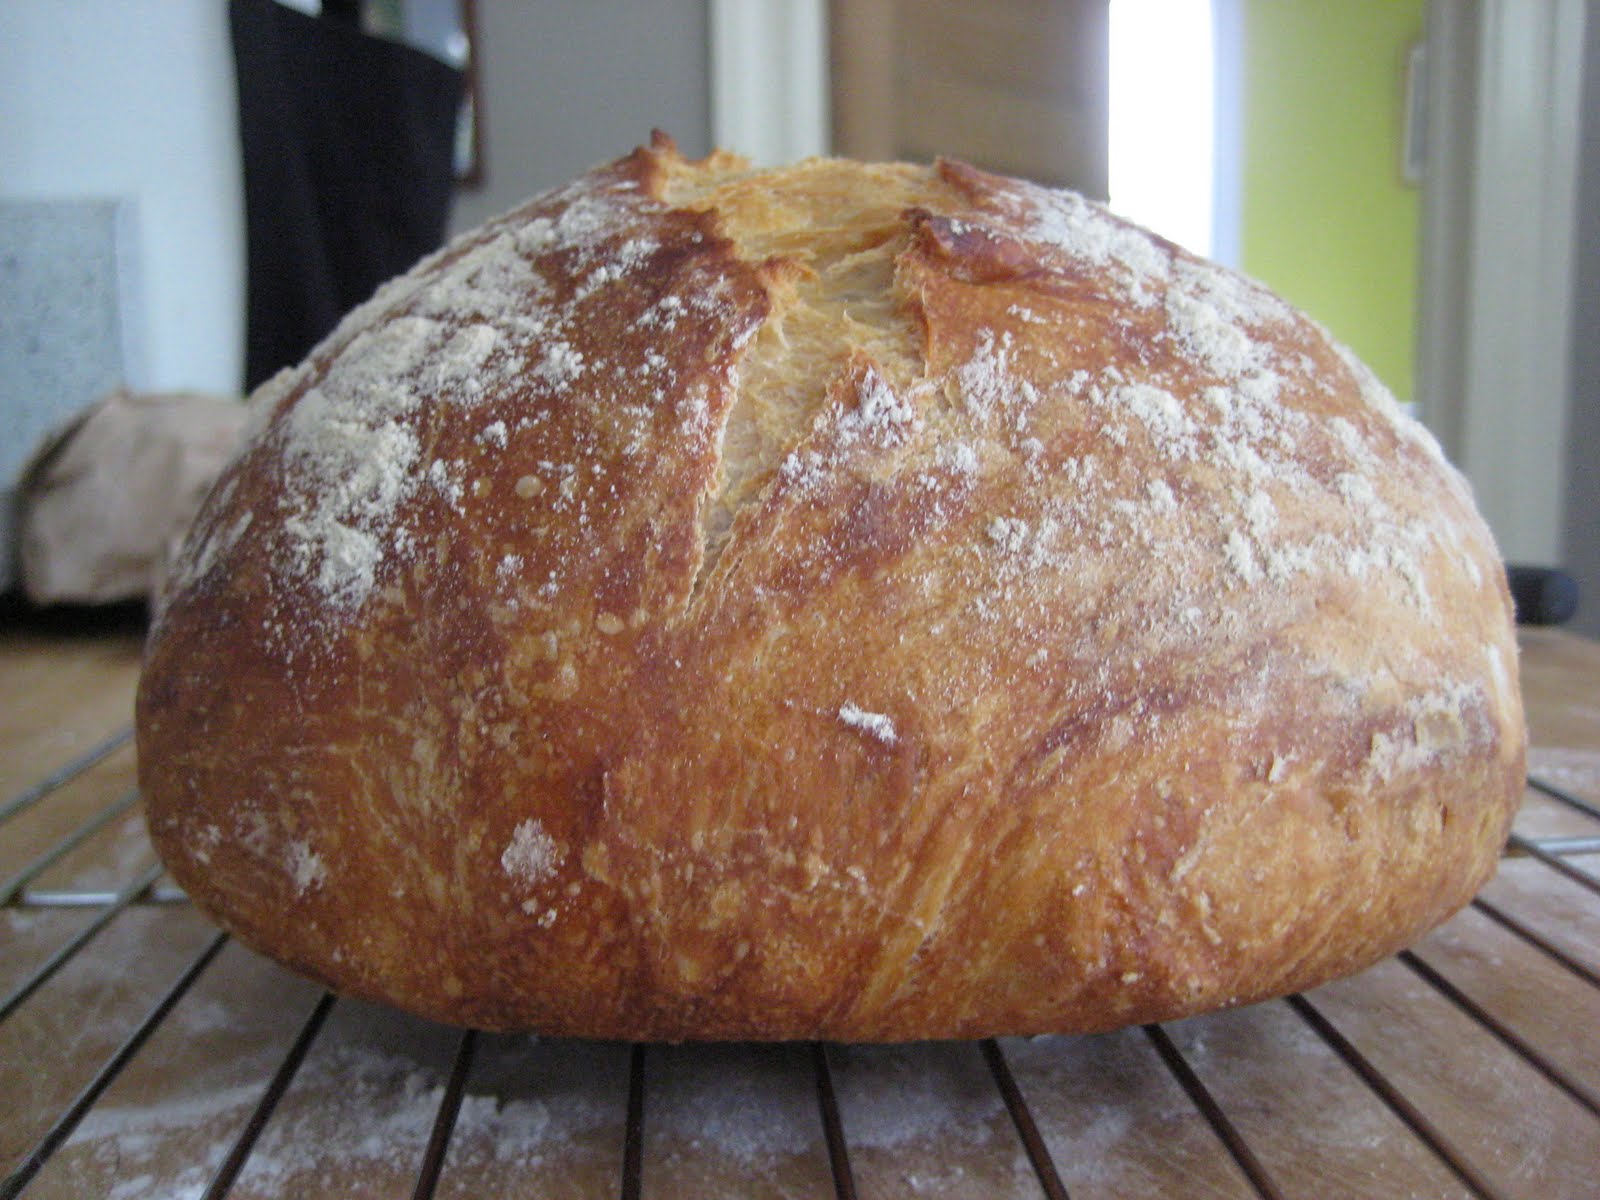
This baby rose like it was nobody's business. When I rolled it up, the dough filled out so I wasn't sure what it would be like waiting for it to "double" in 45 minutes. Perhaps I didn't needed to punch it out more?

This bread was moist and while not super sweet, I will omit the honey next time around. Friends loved it! Great with butter and a cup of tea in the morning!

Makes 1 large loaf

Ingredients
- 3/4 c warm water
- 2 1/4 tsp dry active yeast
- 3/4 c warm milk
- 4 T honey
- 2 T vegetable oil
- 1 tsp salt
- 1 1/2 c all purpose flour
- 2 c white whole wheat flour (the original called for whole wheat)
- 1 c raisins (the original recipe calls for 1/3 c raisins which I followed and found that there was 1 raisin every other slice)

Filling
- 2-3 T butter, melted
- 2 tsp cinnamon
- 1/4 c brown sugar

Preparation
1.
Place the warm water and honey in large bowl. Sprinkle in yeast, stir until dissolved and let stand until creamy.

2. Add the warm milk, salt, and 1 1/2 cups all-purpose flour; blend well. Stir in white whole wheat flour and mix well.


3. Turn the dough out onto a lightly floured surface and knead until smooth and elastic, about 6 to 8 minutes. Note: if you use white whole wheat or whole wheat, the surface may still be rough; this is normal!

4. Place in a lightly oiled bowl and turn the dough to grease the top. Cover the bowl with a damp cloth or plastic wrap and let rise in a warm place until doubled in volume, about 1 hour.


5. Lightly grease a 9x5 inch loaf pan. Punch the dough down and turn onto a lightly floured surface.

6. Roll out dough until about 1/2-1" thickness and spread melted butter, then top with brown sugar and cinnamon. Roll up the dough and tuck in the ends. Roll tightly so that you get more of a cinnamon swirl when you slice into your bread. Form into a loaf and place into the prepared pan.
Cover and let rise in a warm place until doubled in size, about 45 minutes. Preheat oven to 375 degrees F.

7. Bake at 375 degrees for 35 minutes or until top is golden brown and the bottom of the loaf sounds hollow when tapped. Remove loaf from the pan and cool on a wire rack.

Wednesday, August 25, 2010

Eggs, They're What's for Dinner.....and Lunch, Brunch

Eggs. You got to love them. Inexpensive, they make for quick meals and tasty meals. A few weeks ago I wrote about a kale frittata. It was great but on the thin side. I like thicker "meaty" frittatas. At a friend's suggestion, I decided to try my 10 inch cast iron skillet (as opposed to the 12 inch All Clad skillet), and it was definitely thicker though it took longer to cook, a trade off.

I followed the recipe I previous wrote about but used a 10 inch cast iron skillet. I also decided to spice up the kale. This sized skillet can hold up to 12 eggs (really full) plus filling. 10 eggs is probably better. You'll probably need 20 minutes in the oven but check after 10 minutes. It definitely made for a thicker hunkier slice which was thoroughly enjoyed by friends.

For about 2 cups of curried kale, use the following recipe:

Ingredients
- 1 bunch of kale
- 1 medium onion, chopped
- 1/2 tsp garam masala
- 1/2 tsp mustard seed
- 1/2 freshly ground cumin
- 1 tbs oil
- salt to taste

Heat oil over medium heat in a large skillet, add mustard seed and cover skillet with lid until you the popping finishes. Add onion, saute for 7 minutes until lightly golden. Add cumin and garam masala, and saute for another minute. Add kale, and cook until desired tenderness is reached. Add salt.

Sunday, August 22, 2010

Lemonade with Mint Syrup

Excuse the bread crumbs, please. They are from the bread below, and before I had a chance to clean up the counter, I was on to my next picture...

By the time 8-8:30 AM rolls around, I've usually meditated for 1 hour and run 3 to 5 miles. FYI, the meditation occurs almost every day but the running is a 3 day a week activity. I don't run every day! It's hard enough 3 times a week. Running is what allows me to eat bread every day so it's a must do activity.

Anyway, by the time I get home, I'm thirsty and water is not what I crave. Truthfully, some times I crave coke. I know, so BAD but you can't help what you crave sometimes. Fortunately I don't ever have any of it at home or I would be in trouble. Instead, I try to crave lemonade, and now with a minty twist, it's all I can think about during my run.

I despise food waste regardless of how little I may spend on a particular item. I bought mint for a recipe, and of course had a huge amount to use up. What to do? I decided to make mint syrup but then what? Mint juleps, mohitos, etc. At 8:30 AM it's probably not appropriate. Why not lemonade with a little mint syrup?! It's really refreshing on a hot or cool day, and really hits the spot without all the caffeine and high fructose sugar. Would also be fabulous with lime or sparkling water.

On my way in to the house, I grab a few lemons from my tree. Or on good days, I grab lemon juice cubes from the freezer. If you want to make a single serving, use 1 lemon juice cube (approx. 2 tbs), 1 cup of water, and 2 tbs mint syrup, and 1 tsp of sugar or to taste.

Approximately 4-6 serving

Ingredients
- 3/4 c lemon juice
- 3/4 c mint syrup (see recipe below)
- 6 cups water
- 1/4 cup sugar or to taste

Preparation
Place ingredients together in a pitcher, stir and serve with ice.

Mint Syrup
- 2 c water
- 2 c sugar
- 1 1/2 to 2 c chopped mint

Preparation
In a small sauce pan, place water, sugar and mint. Cook over medium heat, stirring until sugar dissolves, and let simmer for 5 minutes. Take off heat, and let steep over night. Strain mint, and store in air tight container in the fridge for approximately 3 weeks.

Tuesday, August 17, 2010

Almost No Knead Bread

Raise your hand if you love bread. My hand is raised. Raise your hand if you're tired of paying $$ for crusty bread. My hand is raised. I buy crusty bread on a weekly basis, probably about $4 for 12 to 16 ounces. The breads I choose are on the less expensive side too. I could easily spend $5 or $6 loaf.

Why not make my own bread, you may think? Who doesn't love the smell of freshly made bread. It's wonderful. What stops me? Not kneading. I find kneading therapeutic. I'm, however, NOT a fan of the first and second rise. Who has time? I guess there is time, sometimes, BUT then I feel stuck at home or if I'm out and about then I feel like I have to rush home to complete the requisite steps. I don't like feeling controlled by bread or bread making.

Last year, may be two years ago, I saw Mark Bittman's No Knead Bread in the New York Times A recipe in which I could be away for hours at a time and still make bread. A win-win. I worked backwards from when I wanted the bread to pop out of the oven and put together the dough. 20 hours later, I had a thin burnt loaf. The parts that weren't burnt were tasty but I was not impressed enough to try again until today.

As you may recall, I spent a ridiculous sum on a Cook's Illustrated magazine a few months ago. To make it pay off, I've slowly but surely going through the vegetarian recipes, one of which is this Almost No Knead Bread, which improves up on the Bittman recipe. The recipe was without problems but I was not. After picking up all the ingredients and making the dough, I realized within 30 minutes that I had made a critical error, I used active dry and NOT instant yeast. A quick on line search suggested my bread would not succeed. Was I irritated with myself? You better believe it. 2 hours later after running around to find instant yeast (stores should sell it larger quantities than those dinky packets!) I had my precious dough.

18 hours later at 8 AM I kneaded it. 2 hours later I popped my baby into the oven. 50 minutes later it came out, round gorgeous perfection if I do say so myself. Now I'm waiting for it to cool down so that I can eat it, another 2 hours. Will report back later on flavor.

Are there are almost no knead recipes that incorporate other types of flour and/or ingredients like nuts, olives etc.

Ingredients
-3 cups unbleached all-purpose flour, plus extra for work surface
-1/4 tsp INSTANT yeast
-1 1/2 tsp table salt
-3/4 c plus 2 T water, at room temp.
-1/4 c plus 2 T mild-flavored lager (Budweiser was recommended; stronger tasting beers will make the bread taste like beer)
-1 T white vinegar

1. Whisk flour, yeast and salt in large bowl. Add water, beer and vinegar. Using rubber spatula, fold mixture, scraping up dry flour from bottom of bowl until shaggy ball forms. Cover bowl with plastic wrap and let sit at room temp for 8 to 18 hours (I waited 18).

2. Lay 18 by 12-inch sheet of parchment inside 10-inch skillet and spray with nonstick cooking spray. Transfer dough to lightly floured work surface and knead 10 to 15 times. Shape dough into ball by pulling edges into middle. Transfer dough, seam side down, to parchment-lined skillet and spray surface of dough with nonstick cooking spray. cover loosely with plastic wrap and let rise at room temp until dough has doubled in size and does not readily spring back when poked with finger, about 2 hours.

3. About 30 minutes before baking, adjust oven rack to lowest position, place 6 to 8 quart heavy bottomed Dutch oven (with lid) on rack, and heat oven to 500 degrees. Lightly flour top of dough, and using sharp knife, make one 6-inch long, 1/2-inch deep slit a long top of dough. Carefully remove pot from oven and remove lid. Pick up dough by lifting parchment overhang and lower into pot. (Let excess parchment hang over pot edge.) Cover pot and place in oven. Reduce oven temp to 425 degrees and bake covered for 30 minutes. Remove lid and continue to bake until loaf is deep brown and instant-read thermometer inserted into center registers 210 degrees (I don't have this, so I didn't do this), 20 to 30 minutes longer. Carefully remove bread from pot; transfer to wire rack and cool to room temperature, about 2 hours.

4. To store, wrap bread tightly in plastic wrap, then in foil; freeze for up to 1 month.

5. To serve, remove foil and plastic wrap, rewrap with foil, and defrost at room temp for 2 hours. Adjust oven rack to middle position and heat oven to 375 degrees. Back foil-wrapped bread on baking sheet until heated through, about 15 minutes. Serve.

Wednesday, August 11, 2010

Bean Puree and Kale Stir Fry

I love beans but am tired of opening a can to weird slimy textured stuff. After years of reading about the cost effectiveness and improved taste of home prepared dried beans, I had to try it. I had been daunted. It takes time to prepare beans, more time than I thought I had. Who has time to soak beans over night and then three hours cook them?

Not me.

Not until I started watching some of Mark Bittman's NY Times videos, praising to the high heavens, home cooked beans. He is one of my favorite cook book authors; he makes cooking simple and accessible. He convinced me that I did not need to soak the beans. An overnight soak may cut cooking time by 30 minutes.

An hour and a half later, I had perfectly texture salted beans. It was a low effort low attention preparation too, meaning for those that multi-task, you can work on other home activities! Bonus. The trick is to make a lot, more than one serving, and to freeze whatever you don't expect to use in the next few days. So I now have eight cups of beans in four quart sized bags. Now, I just need to know what I'm going to cook on any given day so that I can have the where with all to bring out one of those bags to defrost!

After preparing, you can either freeze them in their juice or store them in the fridge for 3-6 days. Two days later, I made bean puree which truly rivals mashed potatoes. They are just as tasty, if not tastier, and so much healthier. These will not make your glycemic index shoot through the roof.

I decided to pair the bean puree with a wonderful kale stir fry. I'm on a kale kick since it's one of those bang for your buck foods. Healthful and value laden in so many ways. The only modification I made is that I added the bread crumbs at the end. I pushed the kale to one side of the pan, dropped a tiny bit of olive oil, and then toasted the bread crumbs so that they were brown and crispy, and then proceeded to mix in the kale. This dish was a hit. Combined with the bean puree, you have very healthy comfort food!

Basic Beans from How to Cook Everything by Mark Bittman

Time: 30 minutes to 2 hours, largely unattended

Ingredients
-Any quantity of dried beans
-Salt
-Water

Preparation
1. Place beans in large port with water to cover. Turn heat to high and bring to a boil; skim foam if necessary. Turn heat down so the beans simmer. Cover loosely.

2. Cook stirring occasionally, until the beans begin to become tender; add about 1 tsp salter per 1/2 pound of beans, or to taste.

3. Continue to cook, stirring gently, until beans are as tender as you lik; add additional water if necessary. Drain and serve, or use in other recipes, or store covered, in their cooking liquid, in the fridge (3 days) or freezer (3 months).

I checked on the beans every 30 minutes. Different beans, even of the same type, cook differently depending on how old they are etc. One night, I cooked one white bean and after 30 minutes, they were still very very firm. Another night, I tried another white beans, and after 30 minutes, they were tender. So watch out so you can control texture.

White Bean Puree
Makes 4 servings
Time: 10 minutes with precooked beans

Ingredients
-3 cups drained cooked or canned navy or other white bean
-1 cup bean cooking liquid, or chicken, beef, or vegetable broth
-3 T butter
-Salt and freshly ground black pepper to taste

Preparation
1. Puree the beans by putting the through a food mill or using a blender (I have a great blender but found that the food processor is best); add as much liquid as you need to make a smooth but not water puree

2. Place in microwave-proof dish or medium non-stick pan along with the butter. Heat gently until the butter melts and the beans are hot; season with salt and pepper.

Saturday, August 07, 2010

Blueberry Muffins

I've been searching high and low for an AMAZING blueberry muffin recipe. I've tried lots of recipes but this is definitely the best one to date. This muffin has lots of blueberries, not overly sweet, and none of the dreaded (at least to me) the overly sweet streudal topping. I found this recipe at A Chow Life. Thanks so much for sharing your recipe!

Tuesday, August 03, 2010

Summer's Best: Grilled Peaches

This is a really fast and easy dessert. I mean, I can't even call it home made because all I did was slice peaches in half, placed them on the grill, and removed them when they were softened and had grill marks. Serve with vanilla ice cream. It's a summer time hit!