I call these unemployment cookies because I made these on my first weekend of freedom back in January -- aka I knew that I would not be going to work on Monday and many many days after that which made my first freedom weekend so deliciously happy that I had to celebrate with something sweet. And for those of you that know me, I just adore sweets. I cannot pass them up which is why I had to come up with the homemade rule and now I really can't eat anything but homemade because I notice the difference too much.
I'm not sure who to credit this recipe to because my friend shared it with me via e-mail. It looks like it was forwarded to her by a Linda. So Linda, I solute you and this recipe. It's wonderful! You know how store bought sugar cookies can be too sweet and then the frosting makes it over the top. These cookie are just right. There is the added bonus that you feel like a kid again when decorating the cookies.
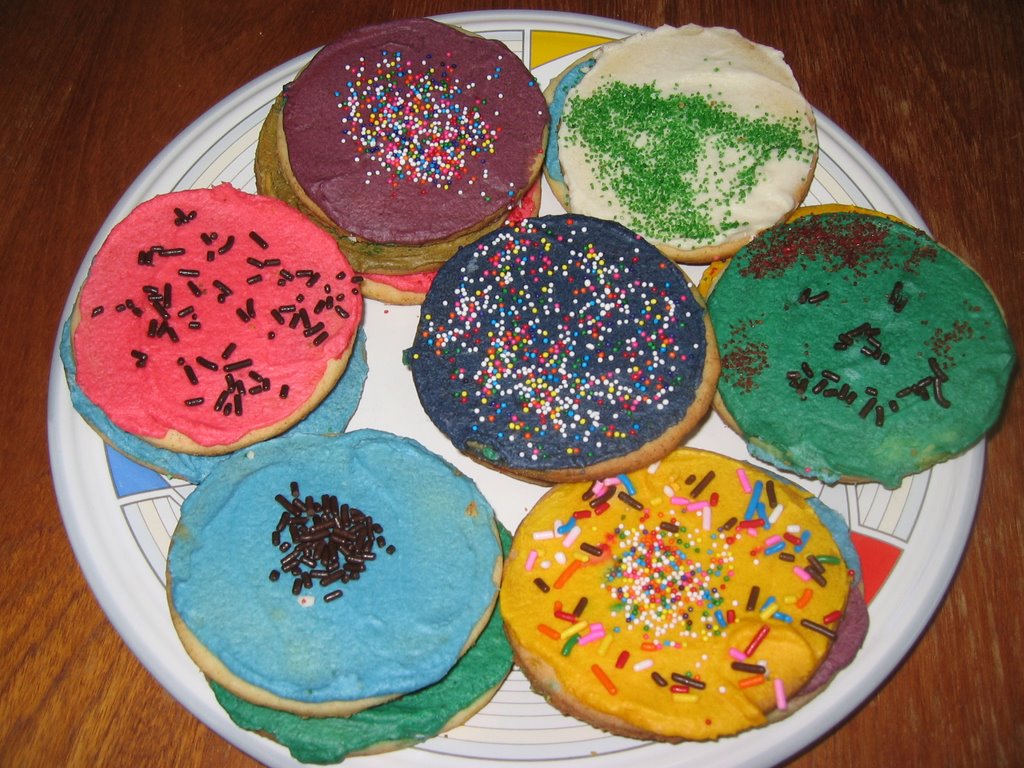
So yesterday I decided to make them again but this time they were "Please let the sunshine again/Go A's" cookies (see white cookie in picture with slightly deformed A). They can be whatever you want them to be. It is time consuming to make these and the first time I didn't notice the time because I baked them with a friend but doing them a lone, I noticed the time much more.
Makes 30 cookies more or less depending on thickness of dough, and size of cookie cutter
Time: 3 hours
Ingredients for cookie
-1 c butter, softened and unsalted
-1 c sugar
-1 egg
-1/2 tsp vanilla extract
-2 tsp baking powder
-3 c flour
Preparation
Preheat oven to 400 degrees. Cream butter and sugar. Beat in egg and vanilla. Add baking powder and flour, mixing after each cup. Dough will be very stiff. Blend last flour by hand. Do not chill. Divide dough into 2 balls. On floured surface, roll each ball into 12 inch circle, approximately 1/8 inch thick. Bake on ungreased cookie sheets on top rack of oven, 6 to 12 minutes, depending on thickness or until lightly browned. For me, I found that 8 minutes was the perfect baking time.
Ingredients for Butter Cream Frosting
-2 c powdered sugar (16 oz.)
-1/2 c butter, softened and unsalted
-1/8 tsp salt
-1 tsp almond extract
-3-4 tbsp milk
Preparation
Cream one-third of the sugar with butter and salt in large bowl. Blend almond extract, 2 TGIF milk and remaining sugar into mixture. Gradually stir in remaining milk, until desired spreading consistency is reached. I found that I only needed 2-3 tbsp milk to get the right consistency but I was daring and added 1 more tbsp (3 tbsp total). The consistency was a little 'looser.' If I had to do it again, after the 2nd tbsp, I would add 1 tsp at a time to get to the desired consistency.
Divide into 5 small bowls. Color one bowl with red food coloring, one with blue, one with yellow, one with green and leave one bowl white. Mix well.
I used an electric hand mixer for both the cookie dough and the frosting. I keep my butter in the freezer so I took it out the night before and left it out. I found that doing this made the butter super soft and easy to work with.
Decorate with colored sugars and other decorations. Allow icing to thoroughly dry (overnight) before layering cookies. Cookie sheets are good, with waxed paper loosely laid over the cookies. Place cookies in tight fitting container, if in Arizona. In California, they will be fine on the cookie sheet covered with the waxed paper.
I find that I cannot over eat with these cookies. One is sooo scrumptious and satisfying that is just about all I can eat in a sitting. So imagine how long these will last if you have a small family or live alone! They are well worth the effort.


No comments:
Post a Comment